I love my personal collection of DIY Bead Bracelets. I am going to tell you in 5 easy steps how you can make your own elastic beaded bracelets.
DIY Bracelets are fun and easy projects. When you are finished you will have a cute and casual piece of jewelry that you can be proud to wear.
Tips For Making Bead Bracelets:
- Choose your cord — there are several brands, styles,colors and strengths to choose from.
- Experiment with different cords and elastics — depending on the colors and weight of the beads.
- Thread the beads — consider which bead you will hide your knot in.
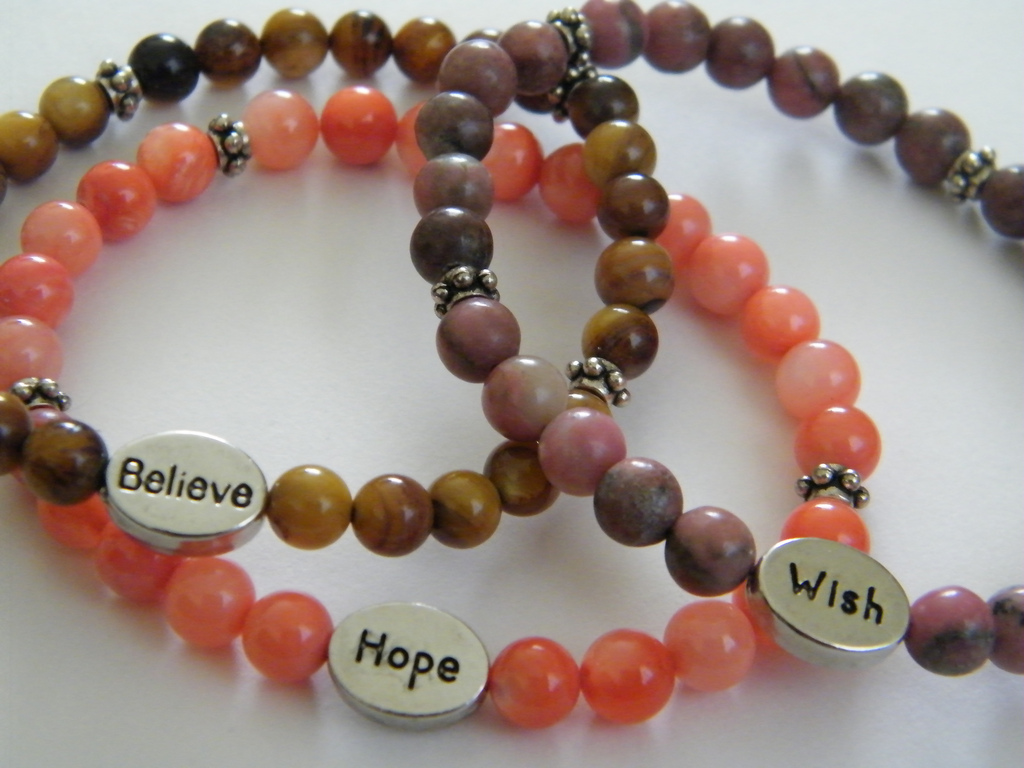
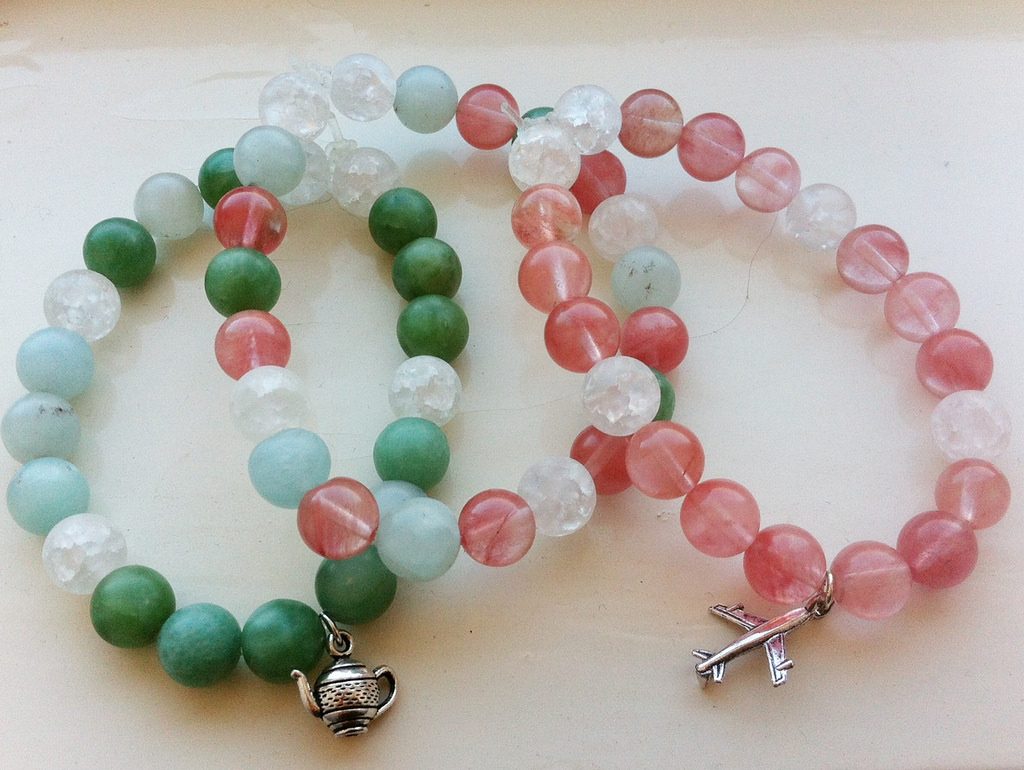
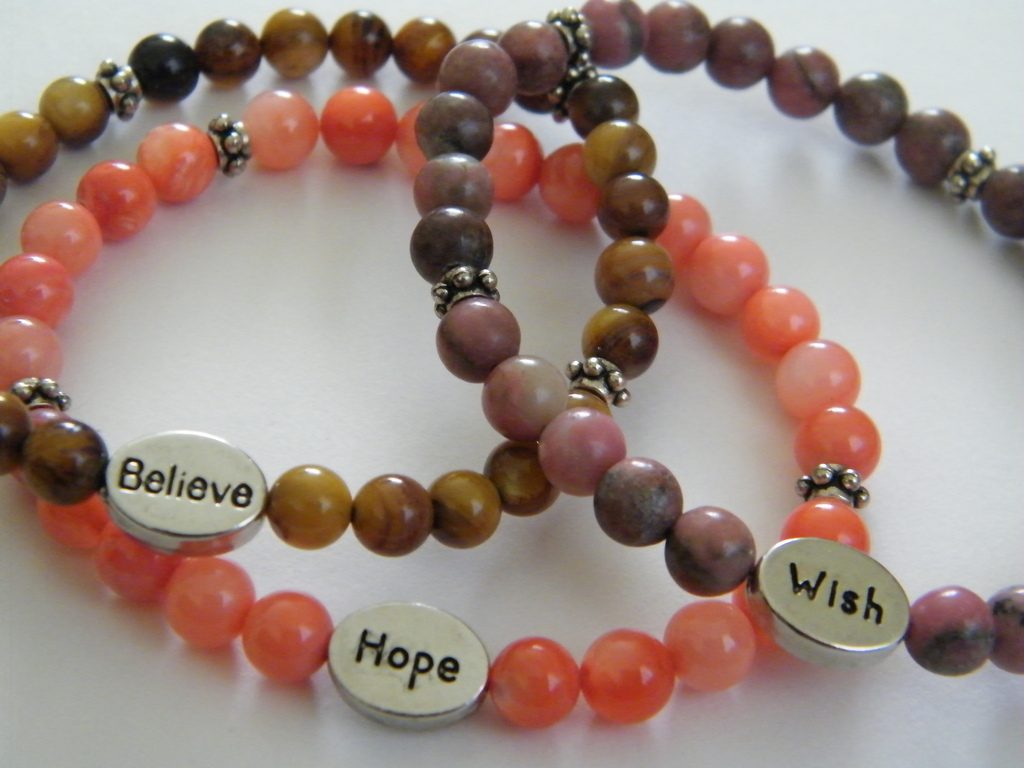
I’ve discovered the smallest size bead that seems to work well is a 6mm bead. So, when you pick your beads and your pattern, keep that in mind. I also like to work with bails, they are great to hide your knots under and you can add a charm if you’d like!
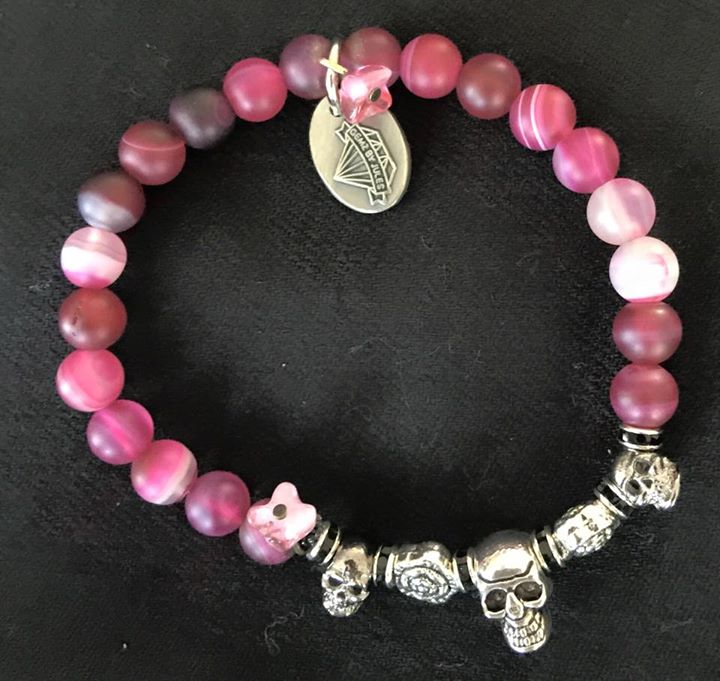
I have a number of bracelets made from different types of beads and in several different colors.
I also make them to sell and take pride in them.
Bead bracelets are perfect for when you’re running out the door and need to put on your jewelry super quick. You can make these beaded bracelets yourself using just about any type of bead you could imagine.
Steps For Making Bead Bracelets
1) Add a bead stopper to one end of your elastic, so the beads will stay on the cord.
2) String your first bead or bail where you will hide the knot when finished. Continue stringing beads until you have 6-1/2 to 7 inches of beads strung onto the elastic.
3) Check the length and the pattern. If it is long enough and looks nice to you, then it’s time to knot.
4) Tie a knot and pull it pretty tight. Do this 3 times. Then add a drop of glue, and let it dry for about 30 seconds.
5) Cut the ends, and hide the knot under the bead (or bail).
There you have it — a super cute beaded bracelet in a flash!
It is fun, simple and you have a new piece of jewelry to add to your collection.
I hope you found this helpful and you enjoy making bead bracelets yourself.


